News

What Does the Full CNC Production Process?

2026-07-09 0 Leave me a message

From initial product design and CAD modeling, through CAM programming, machine setup, and the actual machining, to final quality inspection and post-processing, it explores how digital precision and mechanical efficiency converge to create complex metal parts.


Step 1: Product Design & CAD Drawing Creation

All CNC manufacturing starts with customer product requirements. Our design team uses CAD software to draw precise 2D engineering drawings and build complete 3D product models, which lay the foundation for the finished part’s final shape.

Design for Checking

We evaluate raw material performance, tool access space, processing difficulty, and production cost at the design stage to avoid later manufacturing issues.

Complete Model Standards

3D models must fully display every structural feature of the part.

Clear Technical Markings

All drawings need marked dimensional tolerances, geometric tolerances, and surface roughness requirements for reference during production.


Step 2: CAM Programming & Machining Process Planning

CAM software acts as the link between design files and CNC machine tools. Our technical programmers convert CAD models into G-code and M-code, the readable command language for CNC equipment.

Machining Stage Division

We separate rough cutting and finish cutting for all parts: rough machining removes excess material quickly, while finish machining locks in precision and surface quality.

Cutting Tool & Path Optimization

We pick matching cutting tools and design the shortest possible cutting paths to cut down idle travel time and boost overall production efficiency.

Custom Cutting Parameters

Technicians set spindle speed, feed rate, cutting depth, and cutting step strictly based on part material and structure.

Pre-production Simulation Test

We run a full 3D cutting simulation inside the software to check for tool collision, over-cutting, and tool breakage risks before sending programs to the workshop.


CNC Production Process


Step 3: Machine Setup & On-site Preparation

Before formal cutting, workshop operators complete all physical setup work to match the digital program.

Tool Preparation

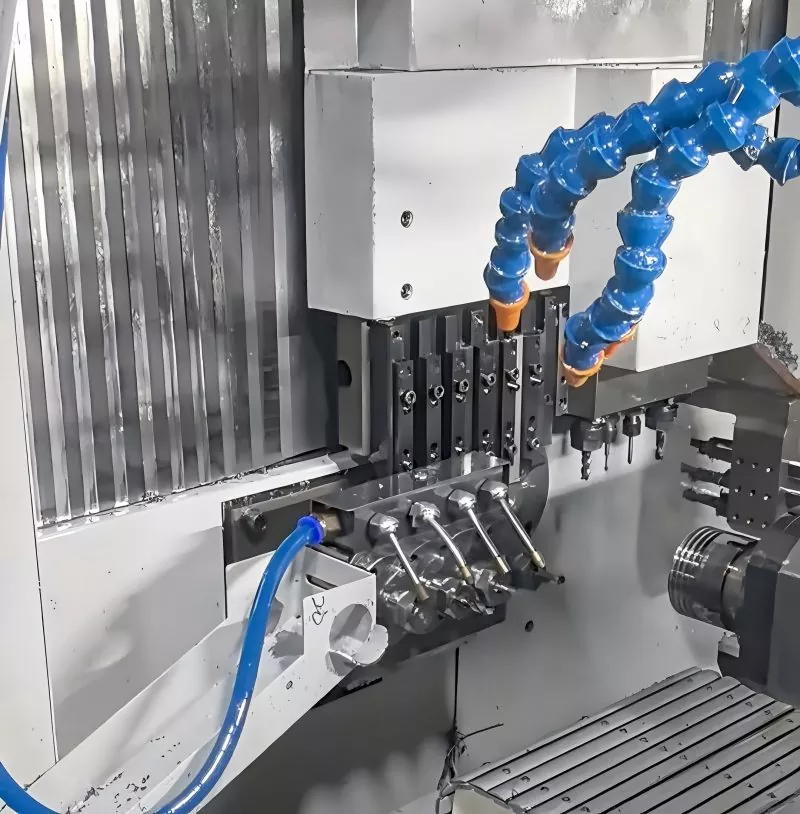
Operators prepare all required cutting tools as listed on the process sheet, measure each tool’s length and diameter, then mount them properly into the machine tool magazine.

Raw Material Clamping

Vises, pressure plates, or custom fixtures are used to lock raw material blanks tight on the worktable, preventing shifting during high-speed cutting.

Tool Setting & Origin Calibration

Work coordinate systems (such as G54) are set to confirm the zero point of the workpiece so the machine can accurately locate the raw material.

Program Upload

Fully verified error-free G-code files are uploaded to the CNC machine control system.


Step 4: Automatic Machining & Real-time Monitoring

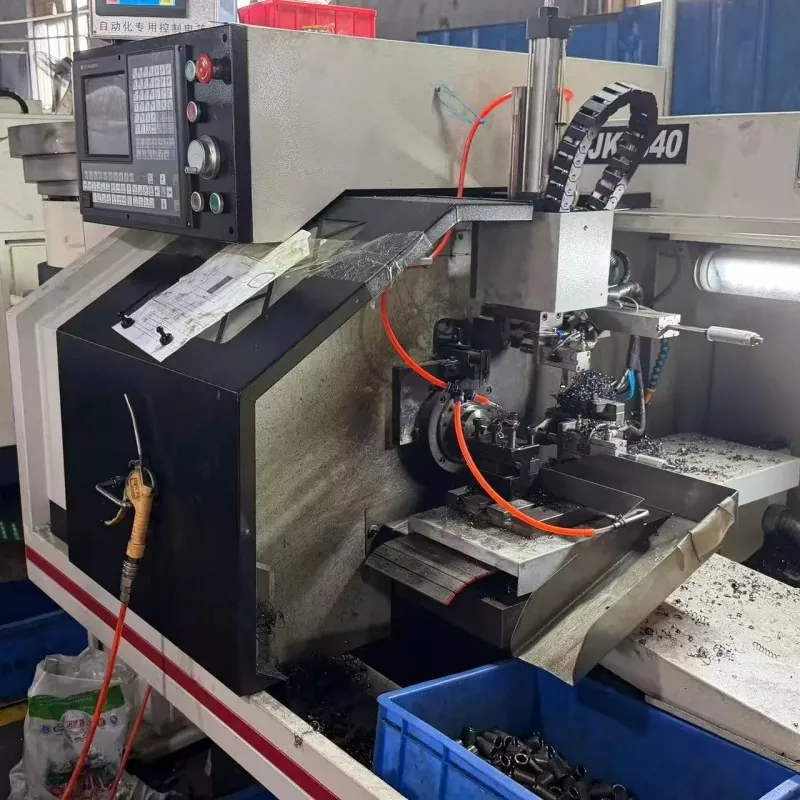
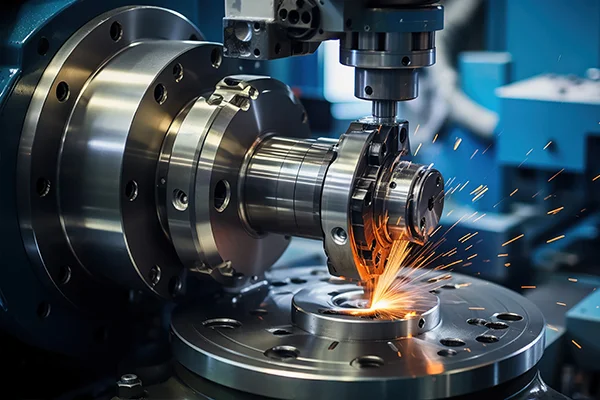
The CNC machine runs automatically following uploaded code, and multi-axis linkage completes material cutting. Operators keep constant watch on the whole running process.

Common CNC Machining Types

Milling: Rotating cutting tools move against fixed workpieces, ideal for complex flat surfaces, cavities and curved 3D profiles.

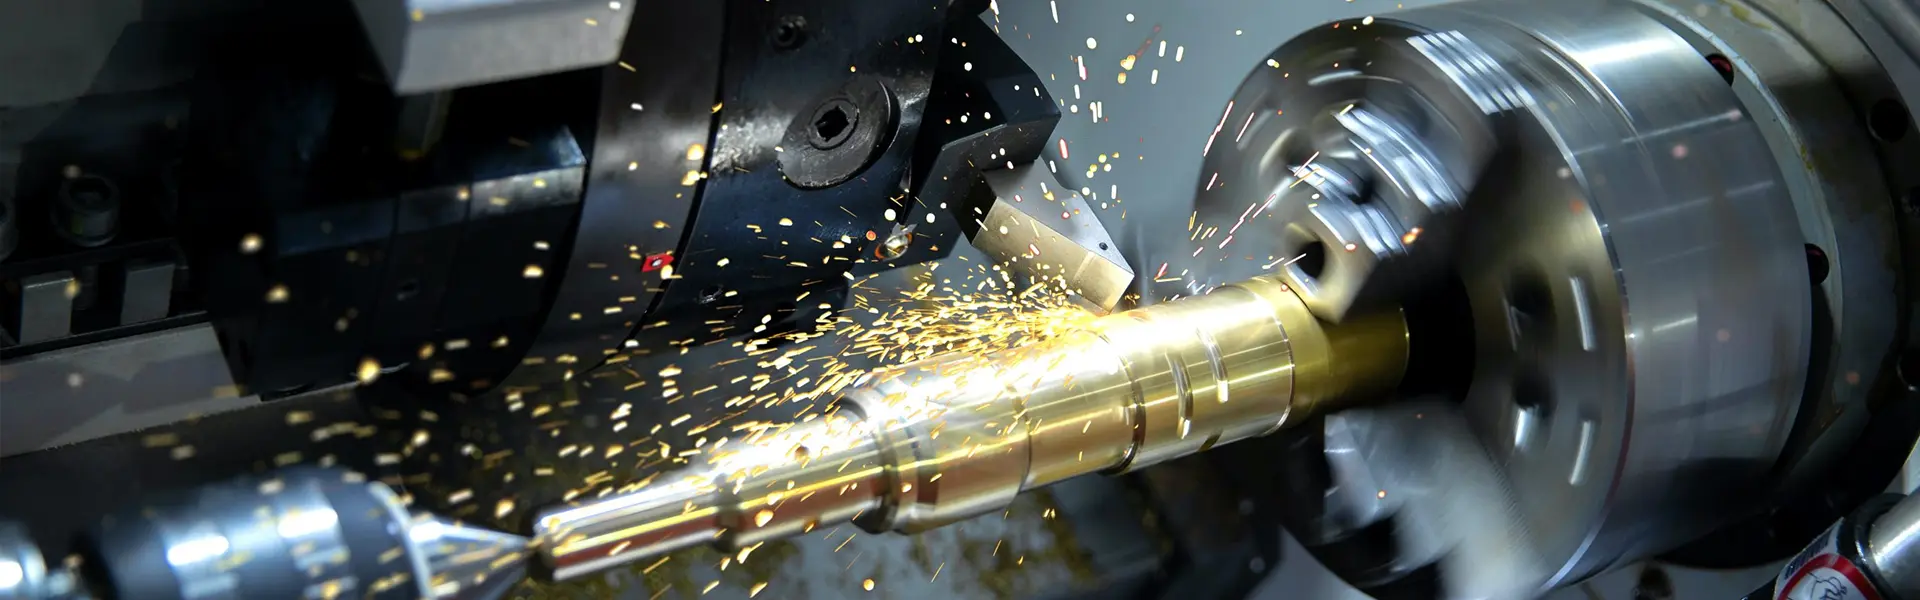
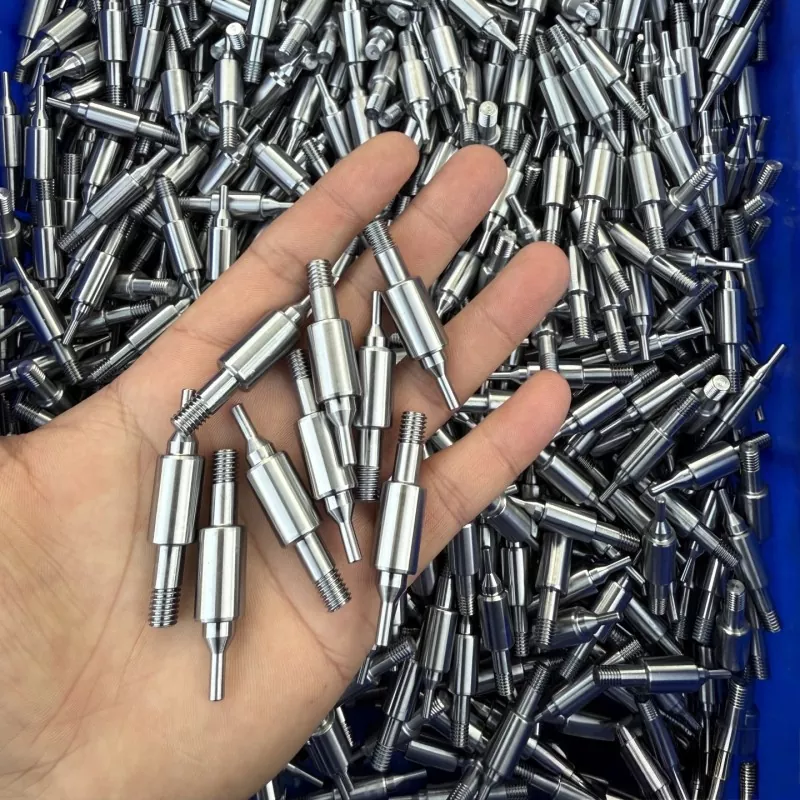
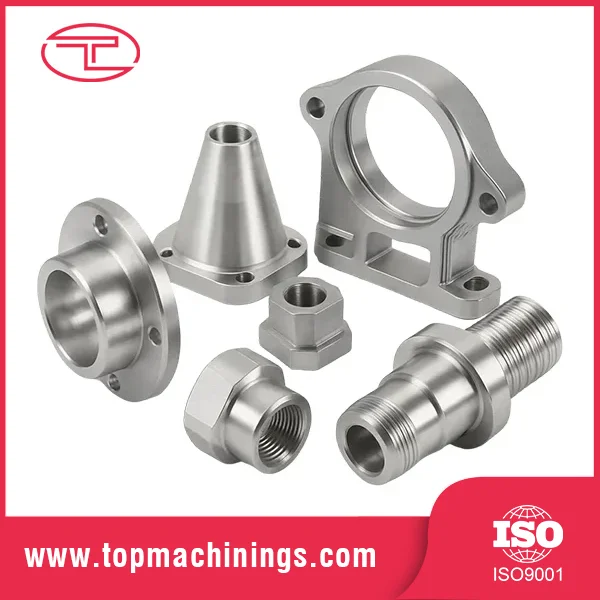
Turning: Raw material blanks spin while cutting tools move, used for rotational parts like shafts, discs and sleeves (such as our brass molding inserts).

Drilling & Tapping: Accurate hole drilling and internal thread processing for fastener assembly.

Key On-site Monitoring Points

Operators must keep a close eye on these details during production:

Sufficient cooling fluid fully covering cutting areas

Signs of tool wear or chipped cutting edges

Unusual vibration or harsh abnormal noise from the machine


CNC Production Process


Step 5: Precision Inspection & Quality Control

Once machining finishes, all parts go through strict QC testing to confirm they match all drawing specifications.

Basic Dimension Check

Workers use digital calipers, micrometers, and go/no-go gauges for quick size verification.

High-precision Dimensional Testing

For ultra-tolerance or complex curved parts, coordinate measuring machines (CMM) and optical image detectors test geometric tolerances accurately.

Surface Finish Test

Surface roughness testers check surface smoothness to eliminate obvious tool marks and surface defects.


Step 6: Post-processing & Surface Finishing

Parts that pass quality inspection receive secondary treatment to meet assembly and appearance standards.

Deburring

Hand tools, polishing machines, or ultrasonic equipment remove sharp burrs and edges to avoid scratches and ensure smooth assembly.

Parts Cleaning

All cutting oil, metal chips, and surface dirt are fully washed off each workpiece.

Custom Surface Treatment

We offer multiple surface finishing options according to usage scenarios: sandblasting, electroplating, anodizing, black oxide coating, powder spraying and more for anti-rust protection and decorative effects.

Final Inspection & Packaging

A final full check of finished goods, anti-rust treatment, component assembly and shockproof packaging for shipment.


CNC Production Process

Related News
Leave me a message
X
We use cookies to offer you a better browsing experience, analyze site traffic and personalize content. By using this site, you agree to our use of cookies.Privacy Policy
RejectAccept